
 |
Depth to Plant
|
Spacing Between Plants |
Best Season to Plant_________ |
Soil
|
Days to Maturity
|
| 1/4" Deep | 4-6" Apart | Fall & Winter | pH 7.0-7.5 | 90-100 |
Getting Started: Choose the Right Time and Location
Shallots thrive in well-draining soil and full sunlight. Plant them in fall or early spring, depending on your climate. In colder regions, fall planting allows shallots to establish roots before winter dormancy. In warmer areas, spring planting works best. Select a spot that receives at least six to eight hours of direct sunlight daily, and ensure your soil drains well to prevent rot.
Prepare Your Soil
Before planting, enrich your garden bed with compost or aged manure. Shallots prefer slightly acidic to neutral soil with a pH between 6.0 and 7.0. Loosen the soil to a depth of about eight inches and remove any rocks or debris. If your soil tends to hold water, consider creating a raised bed or adding extra compost to improve drainage.
Planting Your Shallots
Use individual shallot cloves or small whole bulbs for planting. Space them four to six inches apart in rows that are twelve inches apart. Plant cloves with the pointed end up, pressing them into the soil so the tip is just barely visible above the surface. Water gently after planting to settle the soil around each clove.
Watering and Maintenance
Keep the soil consistently moist but not waterlogged during the growing season. Water deeply once or twice per week, depending on rainfall and temperature. As shallots grow, you may see green shoots emerge. Thin mulch around plants to retain moisture and suppress weeds, but avoid piling mulch directly against the shoots.
Fertilizing for Strong Growth
Apply a balanced fertilizer when shoots are about three inches tall, and again midway through the growing season. Shallots don't require heavy feeding, but a little nutrient boost encourages larger bulbs. Avoid high-nitrogen fertilizers, which can promote leaf growth at the expense of bulb development.
Harvesting Your Shallots
Shallots are ready to harvest when the tops begin to brown and fall over, typically four to six months after planting. Stop watering a week or two before harvest to allow the soil to dry slightly. Carefully dig up bulbs and brush off excess soil. Allow them to cure in a warm, dry, well-ventilated location for two to three weeks before storing.
In Summary
Shallots have a milder taste and odor than Onions, so shallots are more commonly eaten raw. However, when cooked, shallots can lose their flavor quickly, and so onions are preferable in cooked food like stir fries. Space shallots appx. 4-6 inches apart with the rows 18 inches apart. Plant the bulb root side down, the top of the bulb 1 inch below the surface. Planting too deep grows elongated bulbs that don’t store well.
WHEN TO PLANT SHALLOTS
It is always best to plant in the fall because fall-plantings yield twice as much. Protected by a good mulch and snow cover, shallots, have survived minus 25°F. However, if your winters are unusually severe, you might test-plant a few in fall the first time you grow them and save the rest to plant in spring. The exact time to plant must be learned by experience. What you want is for the bulbs to establish a strong root system, but not to make much, if any, tender top growth before the ground freezes.
Normally, planting 4-6 weeks before hard winter comes is about right. The top growth may appear, make a few inches of growth and die back during winter, but if the bulb hasn’t had its food reserves sucked down too hard by making leaves in fall, it will still retain enough vigor to burst into rapid growth as soon as the soil warms up.
HOW TO PLANT SHALLOTS: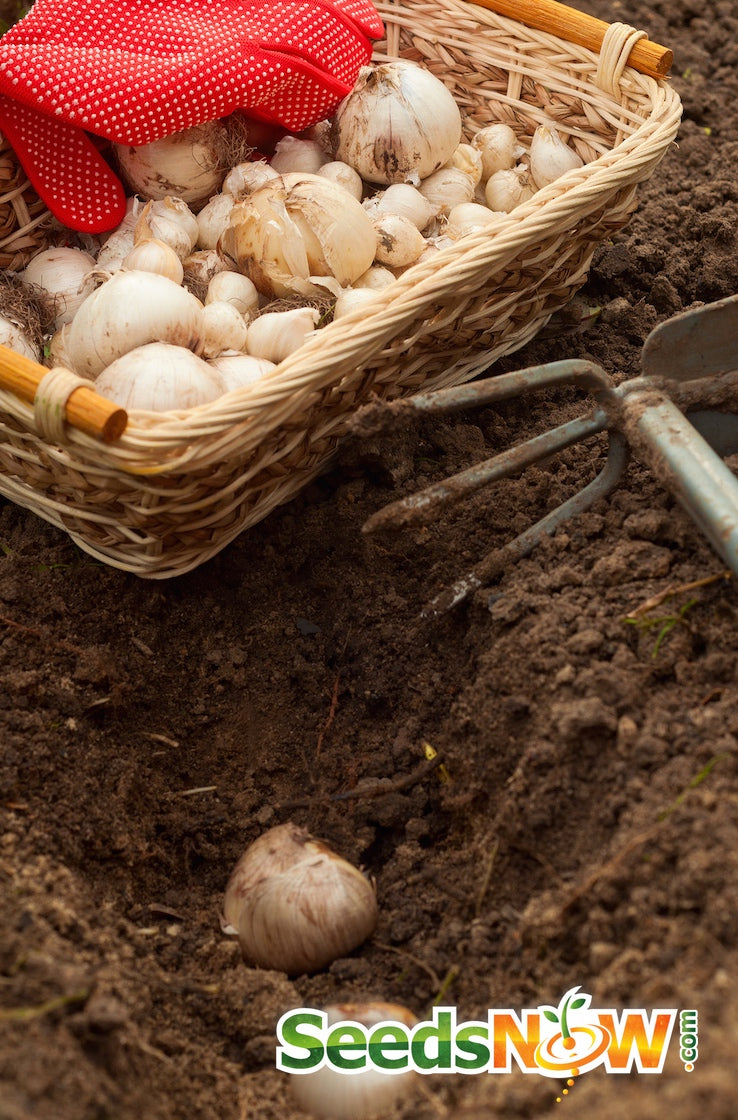
Space shallots appx. 4-6 inches apart with the rows 18 inches apart. Plant the bulb root side down, the top of the bulb 1 inch below the surface. Planting too deep grows elongated bulbs that don’t store well.
HOW TO GROW SHALLOTS:
If you want really large bulbs, side dress the plants when growth resumes in spring. Organic gardeners can use chicken manure or any kind of seed meal (cottonseed meal, canola meal, linseed, soybean,etc.) at a rate of about 1/2 to 1 gallon per 50 row feet. When the bulbing begins, any mulch or soil covering the bulbs should be pulled back so the bulbs form on the surface of the soil and dry down.
HOW TO HARVEST SHALLOTS:
The tops of these species often make very tasty scallions, especially potato onions. However, if you snip off too many sprouts, there will be fewer and smaller bulbs. It is important that the bulbs form tough protective skins. To accomplish this the plants must mature in dry soil. So as the bulbs are forming you should stop watering them.
The time to harvest is when most of the tops have browned off and fallen over. Loosen the soil first with a spading fork and then gently lift the bulbs. Their skins have not hardened yet so it is important to avoid bruising or tearing the skin. The bulbs, with their tops still attached. should be air-dried for 2-3 weeks until the tops have completely shriveled. Then cut the tops off with sharp scissors or pruning shears about 1 inch above the bulb, spread the bulbs out on wire racks in the shade (in a garage) to cure for 2-3months. By then it will be time to replant or store them for the winter (those you haven’t eaten yet).


